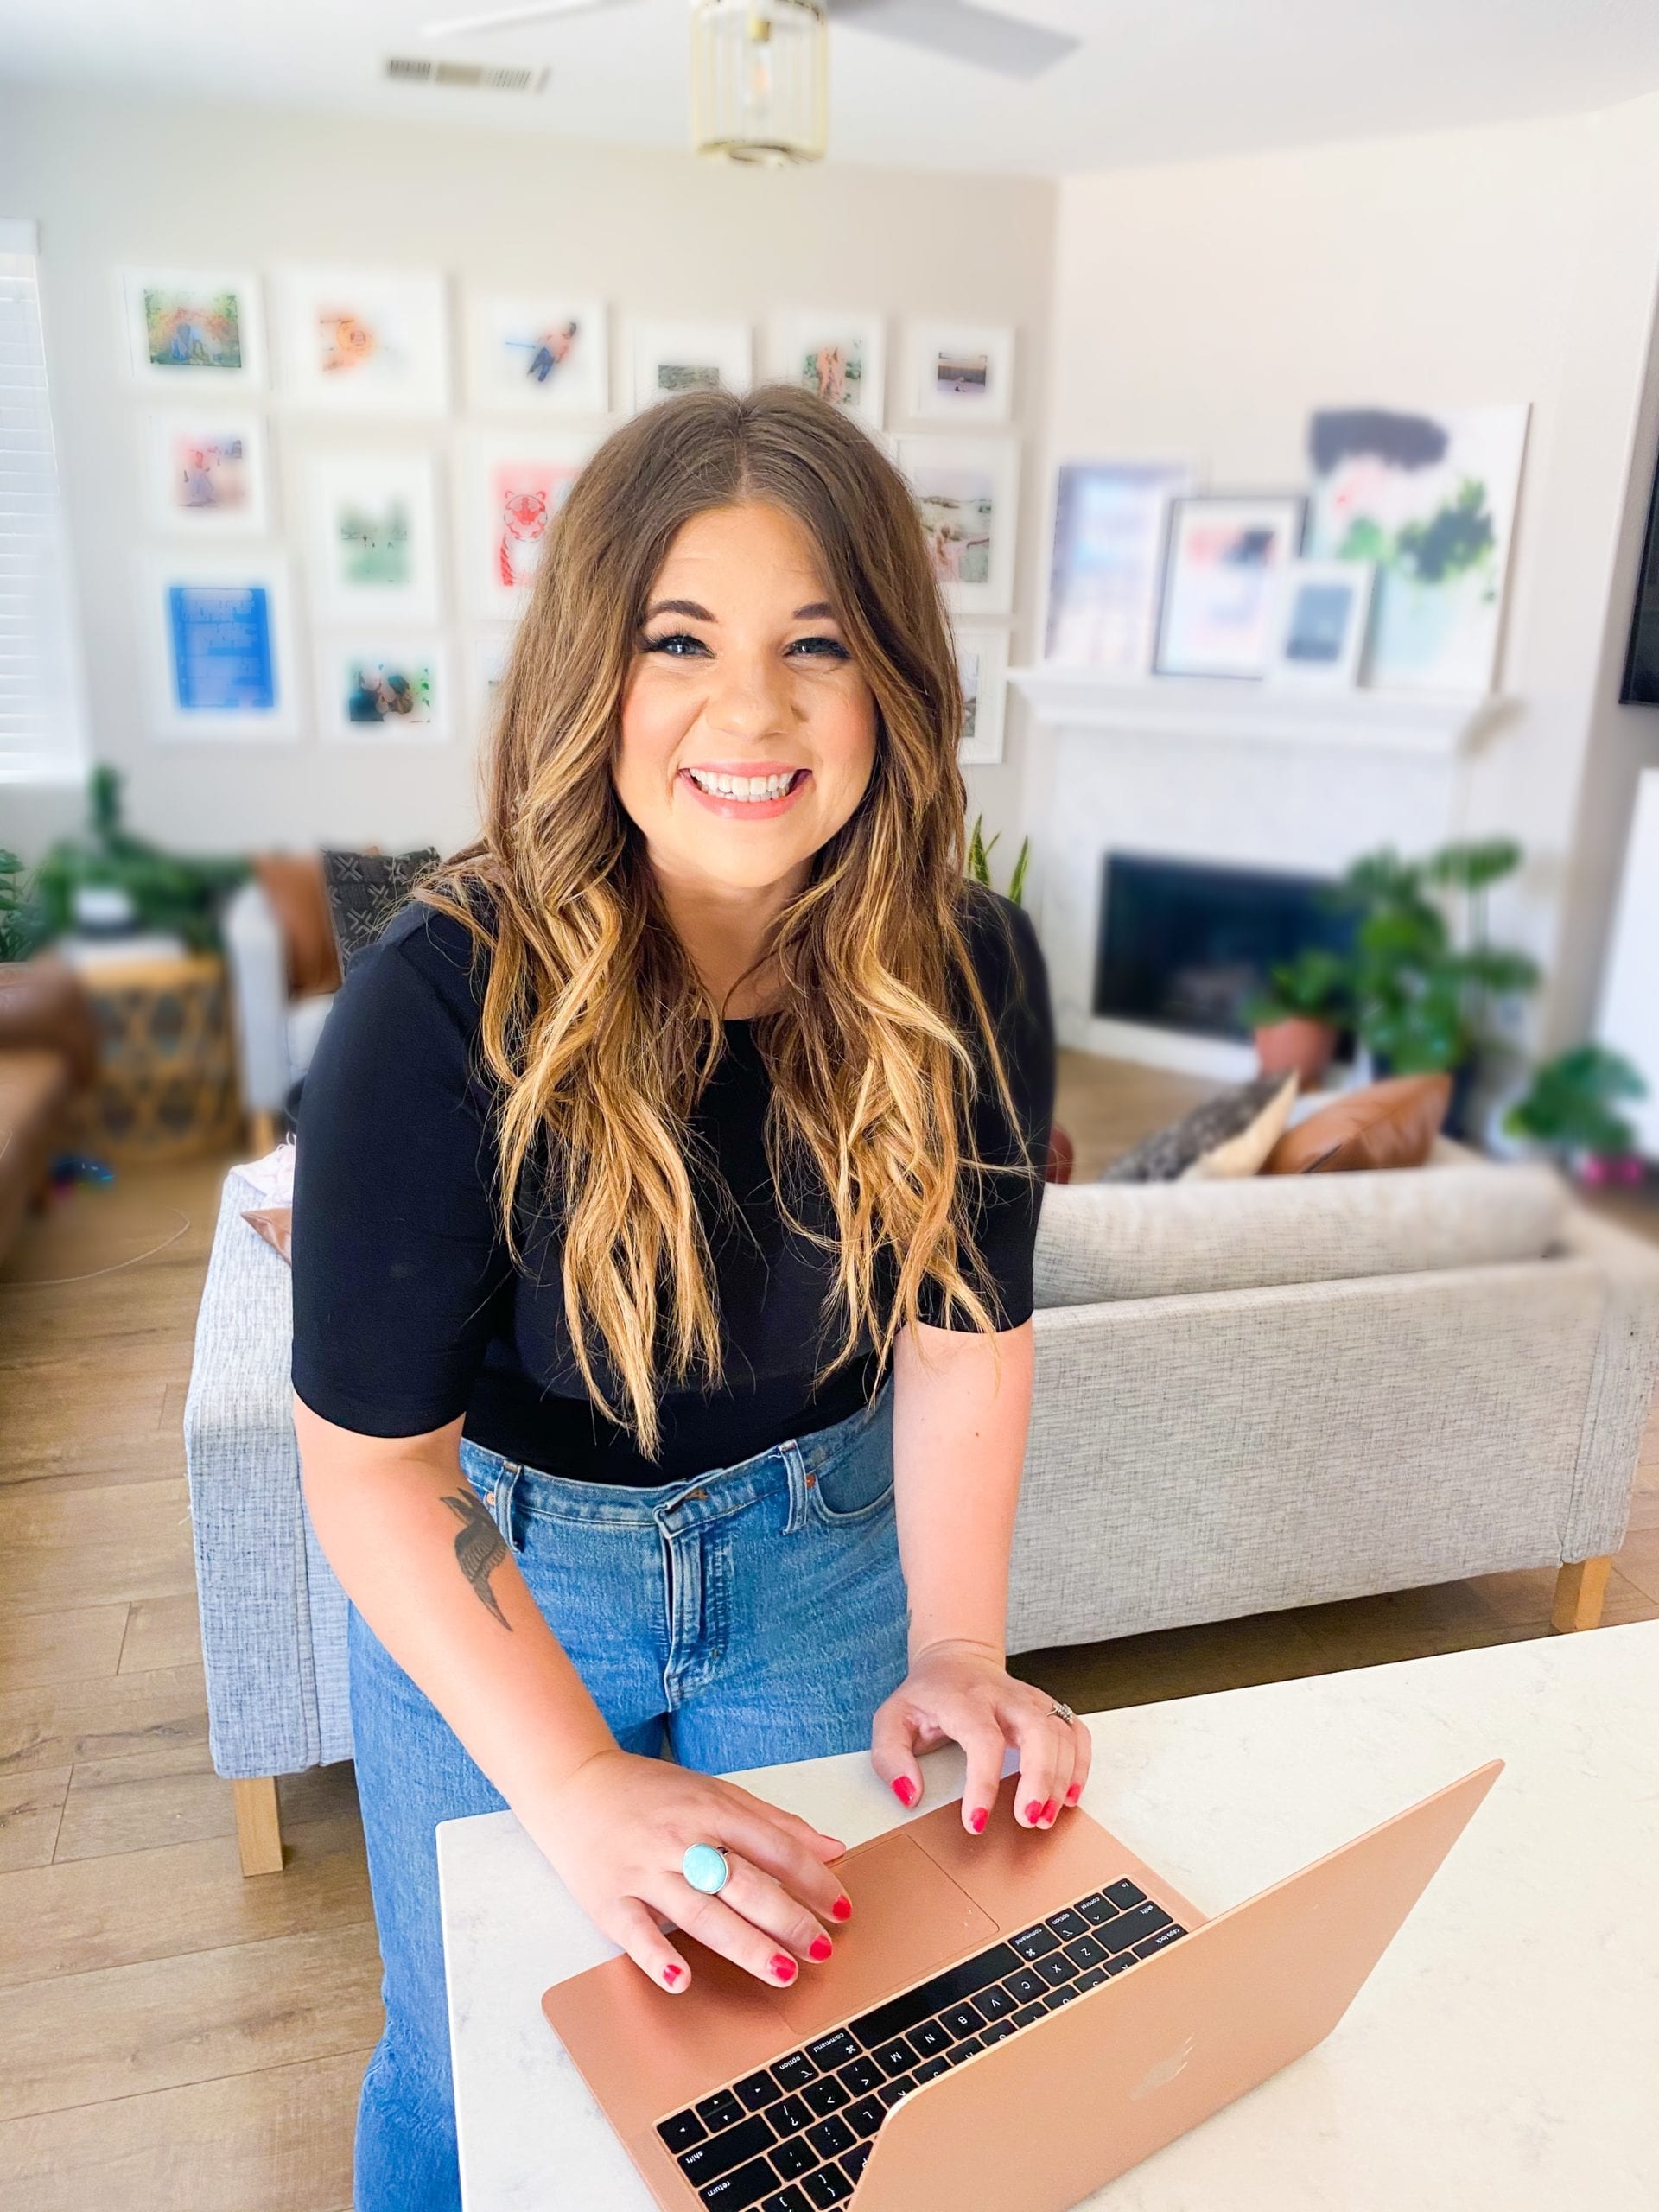
• Skip to main content
allie-logo
  • About
    • My Story
    • Giving Back
  • Programs
    • Browse
    • Success Stories
  • Podcast
allie-logo
MENU
  • About
    • My Story
    • Giving Back
  • Programs
    • Browse
    • Success Stories
  • Podcast

Archives for August 2017

Packing Your Diaper Bag the Minimalist Way

August 29, 2017 by Allie Casazza Leave a Comment

A guest post from Kelsey Van Kirk of Simply, Life On Purpose

Something that can feel really intimidating and challenging to do is practice minimalism as a mama with a kid (or four!) in tow.

When it’s our job every day to show up and be responsible for small people who haven’t yet learned how to care for and fend for themselves, it’s easy to go overboard thinking we need to do and have #allthethings in order to keep it together as a mom.

Case in point: the overstuffed diaper bag!

I can’t tell you how many times I’ve seen a poor mom hunched over, lugging a ginormous diaper bag filled to overflowing with who knows what, while carrying a baby carrier and grasping her toddler’s hand as she simply tries to make it into the store for some groceries.

Poor, sweet mama – I just want to run up, take that diaper bag off her shoulder, give her a big ‘ol hug and tell her she doesn’t need to carry all this weight around with her through motherhood!

This overwhelmed, overburdened picture of motherhood has become the commonplace expectation for many women – and ladies, it needs to stop!

We think that, because we are moms, we have to live up to Mary Poppins-level standards by being prepared for everything and ready to handle any possible calamity with a sweet smile and snappy song.

(Random side note: can we all take a deep breath and remember ourselves that Mary Poppins wasn’t even a mom!!)

We’ve grown to believe that being “supermom” is the standard of expectation….and anything less would mean that we are less.

And so, we pack in more and take on more, trying desperately to be more for our kids and our families.

That is, until the weight breaks us and we completely fall apart (which is NOT what abundant motherhood is all about, friend!)

So, back to the point…diaper bags. How does one approach packing a diaper bag with a “less is more” perspective, so you’re prepared with what you’ll need, without being overburdened by anything unnecessary?

I’d say the answer is by following these three guiding principles:

1. Pack only what you’ll need and use

This, in my mind, is kind of what minimalism is all about….tuning in and being mindful to only give space in your life to the things that are necessary, useful and loved.

Take a few moments to mindfully consider what you actually need anytime you go out with baby in tow.

Better yet, maybe think about it like this: if you were stranded somewhere without your diaper bag, what are the things you’d be seriously missing?

Make a quick little list of the staples you want to keep in your diaper bag at all times, that way getting out the door with your kiddo(s) isn’t a bigger ordeal than it has to be.

2. Don’t let fear or worry drive your decision-making

Something I’ve found as a mother myself, and in observing other mamas, is that too often we allow our decision-making in motherhood to be driven by fear and worry.

We want what’s best for our kids (and honestly, for ourselves too) and the idea of being in scary, uncomfortable or inconvenient situations isn’t pleasant.

So, we’ll often go overboard trying to avoid any possible unpleasantness by over preparing and overpacking….you know, just in case.

Friend, let me ask you how many times those “just in case” moments actually happen?

Let me ask you something else: have you proven yourself capable of making it through those “just in case” moments, relatively unscathed?

Here is the truth: you will never be able to predict and foresee the future, so stop trying!

Being mindful and prepared is one of the hallmarks of purposeful motherhood, and I highly recommend it.

Just don’t let fear and worry steal your peace and make you do crazy things….like pack enough stuff in your diaper bag to last you a full 2-week vacation! 

3. Learn to let go

We don’t live in a perfect world. Your kids aren’t perfect, you aren’t perfect, and your diaper bag won’t always be 100% perfectly what you need every time.

The sooner you can learn to let go of the things you can’t control, and be okay with showing up and doing your best, and can trust in your ability to do hard things and push through challenges when they arise…..the happier and lighter you’ll feel as you continue to journey through motherhood.

It’s time to dump that back-breaking diaper bag out, and let it all gooooooo!

Diaper Bag Essentials for the Minimalist Mama

Now, since I know that the reason you clicked on this post is because you really just want someone to tell you what to put in your dang diaper bag, I’ve got you covered 😉

Here’s a quick checklist of things I recommend packing to make sure all your bases are covered without being excessive.

  • Keys, wallet & phone
  • Small toiletry bag for mom (chapstick, hand sanitizer, female “supplies”)
  • Diapers & wipes
  • Changing pad
  • Outfit for baby in a large ziplock bag (to put soiled clothes in)
  • Burp cloth
  • Nursing cover (if breastfeeding)
  • Bottle with water & ziplock with formula (if formula feeding)
  • Snack for baby (if solid feeding)
  • Water bottle & snack for mom (snack bars or trail mix are great)
  • Pacifier (if you use them)

That’s it! Of course every mama, baby and family are different, but this is a good checklist of the basics that will see you through on an everyday basis while running errands and taking care of business with your little ones in tow.

What about you? Are there any diaper bag essentials you love and swear by that didn’t make the list? Share with us in the comments below!

To help you get started on your journey with purposeful simplicity, click here to download my FREE Simplicity Starter Kit, a workbook and resource guide designed to help you simplify your life today so you can experience more peace, purpose and joy every day.

Kelsey Van Kirk is a blessed wife, mama to four beauties, writer, podcaster, and joy-seeker on a mission to help women embrace purposeful simplicity in everyday living. She is the Founder of Simply, Life on Purpose, Co-Host of The Purposeful Home Podcast, and a lover of good books, good wine, and salty sea breeze. You can connect with Kelsey more on Facebook, Instagram or in her online community, The Simply Life on Purpose Sisterhood.

Filed Under: guest post

Tips For Decorating A Rental

August 17, 2017 by Allie Casazza Leave a Comment

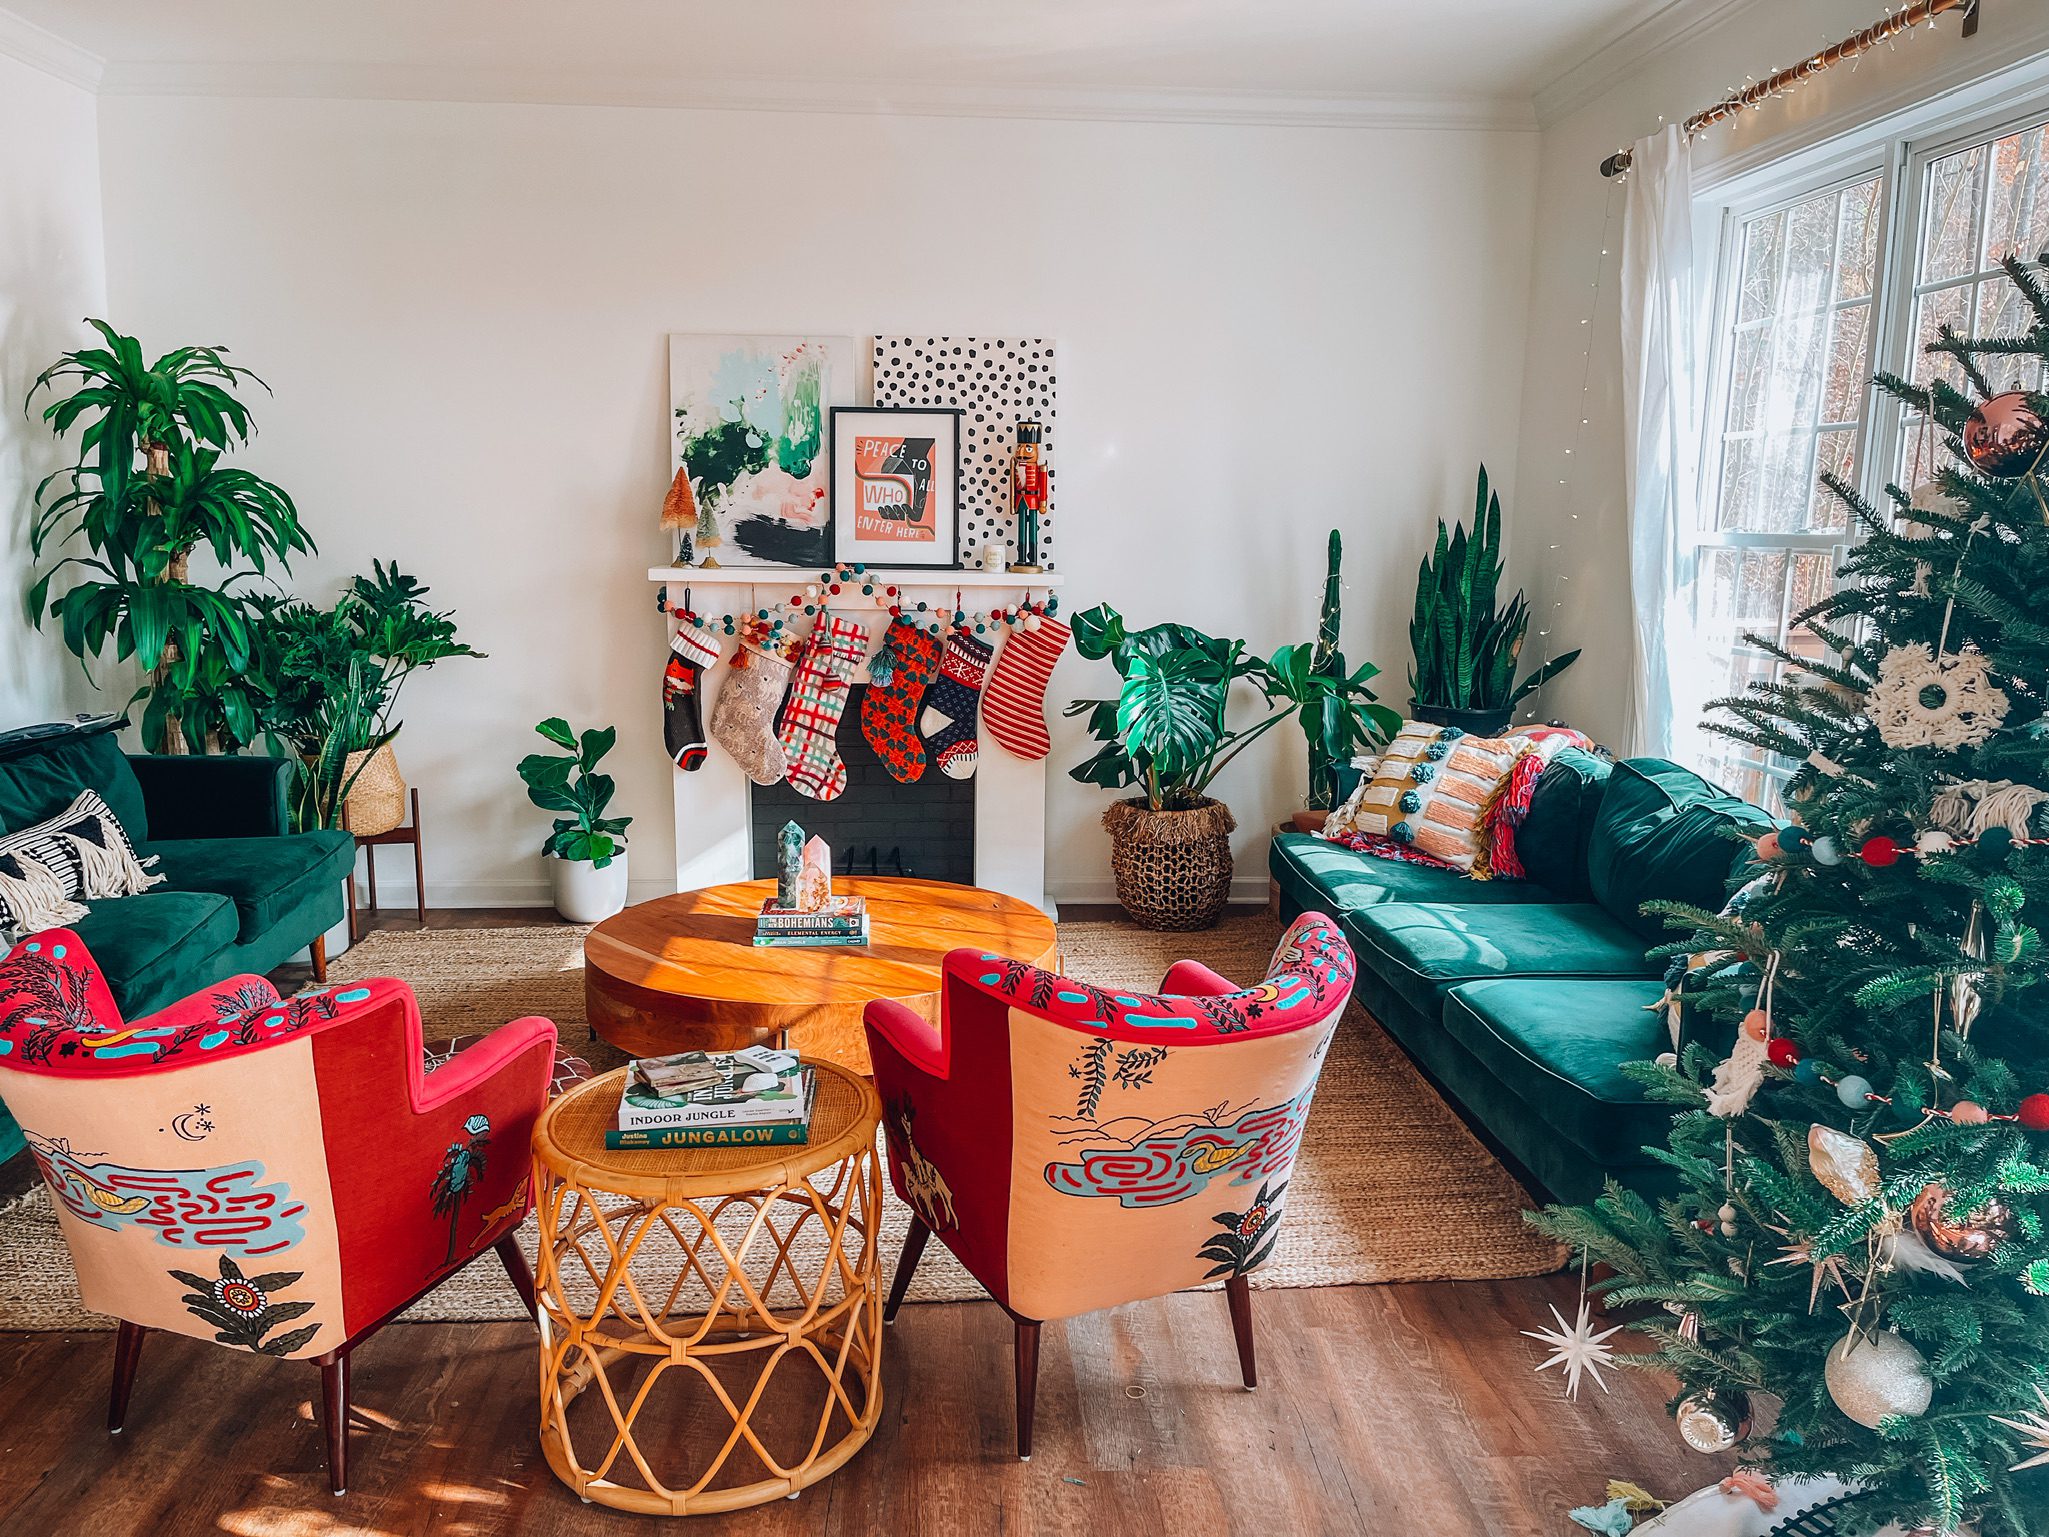
Leather flower pouf: Etsy

Leather sofa: Overstock

Teal love seat: World Market

Coffee table: Threshold for Target

Gold side table: Target

Rug: Target

I don’t know much about interior design, but I do love to decorate. My goal is always to have my home feel very me. I want to spend my time in a space that I love, that inspires my writing, that makes me happy to take photos of my family inside. I need to feel really good about how my home looks, even if it’s not perfect.

I can’t stand having plain walls or temporary furniture that I don’t love. My home is very important to me, and I want my family to feel safe and cozy here. I also want to make sure that I like what I see and that I spend my days in a place that shows my personality and style.

I don’t know how one would officially describe my decorating, but I like to think of it as cozy and modern. I appreciate white, straight lines, and trend. I also appreciate cozy throw pillows, a shelf full of books, and a couch you can curl up in. I never want my family or my guests to feel like they can’t come in and relax.

Since I’ve been getting asked a lot about my decor as we’ve been transitioning out of full-time travel and into our little apartment (a temporary home while we figure out what we want in terms of buying or renting), I thought I’d show it off a little and share where I bought things and how I decided how to style the main areas.

Since this is a very temporary home (and an apartment), we couldn’t change much about it. Instead of finding creative ways to cover the things we don’t like, which is what we usually do when we know we’re staying longer-term, I found ways to distract from the not-my-favorite features.

I’m sharing my tips and tricks with you today!

1. Distract from the features you don’t like.

Our apartment has dark beige carpet. I despise carpet for many reasons, but in this house I’m glad we have it since another family lives below us (bless their hearts. And ears…). However, that doesn’t mean I have to just deal with it. My goal was to use decor placement and color to draw the eye to other parts of the house in each room. My gallery wall, plants placed up high, colorful loveseat, and rugs all help accomplish this.

2. Oversized rugs and rug layering.

Rug: World Market

Jute rug: RugsUSA

Table & chairs: IKEA

Rug layering is a newer trend I started seeing a lot on Pinterest last year. I love the look and decided to be brave and give it a try as part of Mission: Distract From the Carpet. The trick is to use two totally different patterns that compliment each other, and let me tell you… it is terrifying to do this at the store or online when you’re a visual learner. I really wished I could’ve seen it in my living room first, but everything I risked ended being exactly what I was going for!

I bought oversized rugs to fill two of my rooms almost wall-to-wall (because again, the carpet). In my office, I put an IKEA rug and in the kids’ room, I used a Rugs USA rug with lots of color.

3. Put a gallery wall in your living room.

Thin black frames: Target

Colored frames: thrifted and painted by me

Gallery walls are a great way to showcase your style. I did this by choosing mostly thin, black, modern frames and drawing most of the attention to my photos. They’re also great for bringing a little personality to a room.

If your landlord doesn’t want you to use nails in the wall, use Command Strips. There’s an entire aisle at Target dedicated to those things- they’re amazing and you can now decorate however you like, even in a rental because of them.

When it comes to the living room, I like mine to feel personal and cozy, so I wasn’t going for clean, perfect lines and matching frames in a neat row with this wall. I chose some of my favorite photos of our family, some printables with words I like, and I stuck family artwork in there to really relax the look of this wall.

For a subtle pop of color amongst the thin black frames, I included a really happy yellow and a pretty, soft pink frame as well. I also intentionally placed the colorful pieces toward the center of the collage to compliment the bright frames on the outer edges. There’s nothing to a gallery wall except eyeing it.

I laid all my frames out on the floor in front of this wall and placed each frame where I wanted it to go before hanging them, and it still somehow came out different than it had looked, but I ran with it and fit things in as needed until it looked right.

I also did a huge InstaStory as I decorated this wall and people found it really helpful. If you want to see things like that and my daily cup of coffee (I mean, who doesn’t want to miss THAT?!), click here to follow me on Instagram.


Is clutter your real problem? Been there!

Check out Your Uncluttered Home, my globally-praised online decluttering course for moms.

I’ll walk you through the A-Z of minimalism for every room in your home.

Let’s get you simplified so you can walk into a home you love and stop spending your weekends catching up on cleaning!

Learn More


4. Fill space with oversized art.

We scored this Pottery Barn bicycle art from Brian’s dad when he was moving a few years ago. My old timer Instagram followers know it’s my staple piece. It’s so big that it instantly fills an entire wall in an empty space when we move and makes the room come together and feel “lived in”. You can score oversized art at estate sales, online, thrift stores, garage sales, really anywhere that fits your budget. Just keep your eye out for the perfect piece.

You can also make your own oversized art (maybe not as big as the bike canvases….) for super cheap! I talked all about how I did that for the main wall in our bedroom, and you can even view my tutorial by reading this post.

Chandelier: World Market

5. Swap the statement rental pieces that aren’t a big deal to put back when you leave.

When will landlords and rental companies start decorating in ways that fit most styles?? It’s always either outdated or severely contemporary- so not my style. When I come into a new rental, Two things I almost always do is swap the blinds for curtains (or put curtains over the blinds to hide them), and store whatever hideous pendant light they have hanging in the dining area and replace it with a statement piece that fits my style.

6. Base your decor on how the room will be used.

Hanging plants (fake): IKEA

Sofa: IKEA

Rug: IKEA

Fur blanket: IKEA

Throw pillows: Target

Basket: Target

White bookshelf: handmade by my hubby

My style tends to shift slightly depending on what the room I’m decorating will be used for. For example, my living room is much cozier than my office. In my office, I need to be inspired and feel productive, so I opt for lots more white, lots of clean lines, less color, and less coziness.

7. If the kids share a room, keep everything neutral, but sneak in personal touches.

In our last house, my kids all shared one huge room even though they had the option of splitting up a little. In this rental, we decided they’d keep sharing one room so that we could make an apartment work for a few months while still having a workspace to run the business. We ordered double bunk beds, and to keep things from looking chaotic in a tiny space, I got them all matching white quilts.

To bring each of my kids’ personalities into the room, I let them pick out their bed sheets while we were at Target. The Pillowfort Kids line is to die for! Each child has their own set of sheets, so when they pull back the covers to crawl in for the night, it feels a little more them and not just a neutral white zone without personality.

Throw pillows: Target

Floral sheets: Urban Outfitters

Side table: Target

Macrame wall hanging: Target

Curtains: IKEA

Reading light: Target

Planter: Target

Headboard: IKEA

Printables: made by me

Note: I get asked a lot if having white is a pain to keep clean with four kids in the house. My answer is always that it’s actually easier. Kids spill no matter what, and knowing that I can throw some bleach in the wash and easily get every stain out is much more comforting than a patterned or colored piece that I’d have to be careful stain-treating.

8. Use temporary tricks.

There are so many more options for making a rental look more like you nowadays. If your rental isn’t as temporary as ours, you can really go crazy! Use these anti-mold subway tile stickers to cover an ugly backsplash in your kitchen or bathroom (we used these in our camper and they’re great!), put this peel and stick wallpaper to give a room more personality. These items won’t damage your place when you remove it and it makes it feel SO much better!

A temporary home with details you don’t exactly like (like brown carpet) doesn’t mean you have to just grin and bear it until you move. You can make any rental look beautiful and put your personal touch on it without causing damage you’ll pay for later.


Is clutter your real problem? Been there!

Check out Your Uncluttered Home, my globally-praised online decluttering course for moms.

I’ll walk you through the A-Z of minimalism for every room in your home.

Let’s get you simplified so you can walk into a home you love and stop spending your weekends catching up on cleaning!

Learn More

Filed Under: everything else

How to Make Your Own Modern Wall Printables

August 3, 2017 by Allie Casazza Leave a Comment

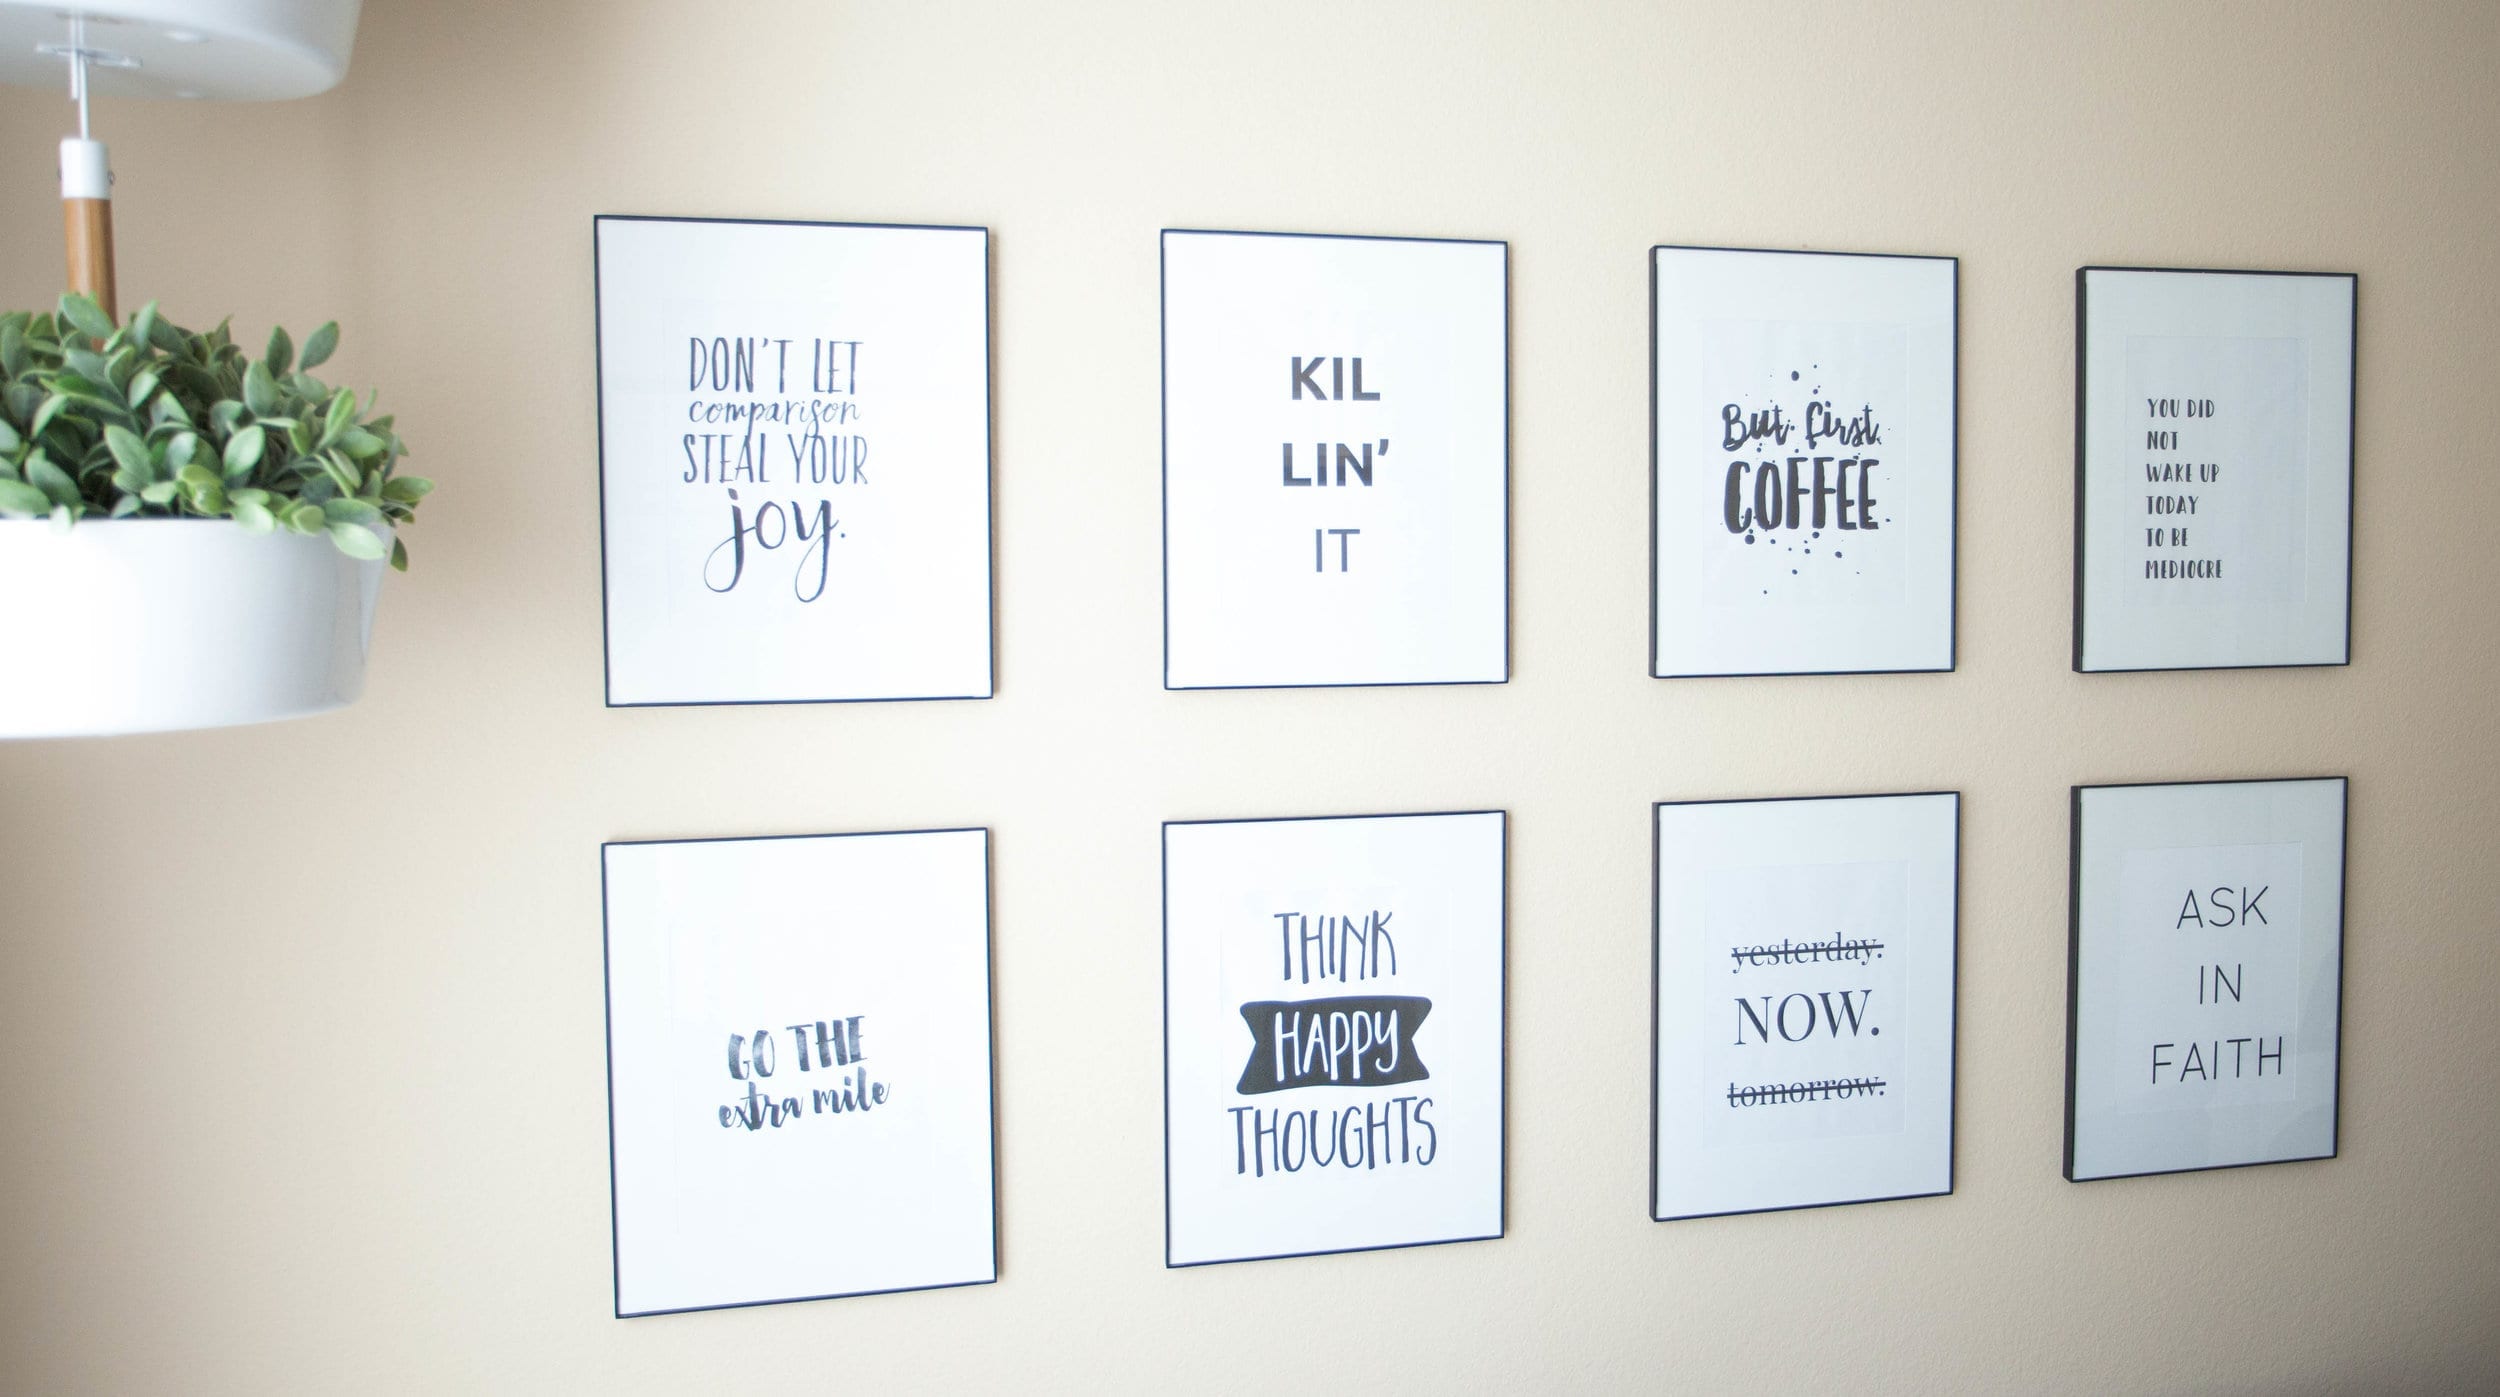
My decorating style is super simple, so when it comes to wall art, I walk on the minimal side. Less is more!

I also love words (I’m a writer, so, makes sense) and want them all over my house, so last year when I was redecorating, I started looking for ways to implement them.

The first thing I did was put together a wall of inspirational words for my office. I spend a lot of time in here first thing in the morning, and sometimes coffee and powerful reminders are the only things keeping me focused!

I wanted to keep things black and white and super simple. This is an office for a minimalist, after all, and I feel distracted when I’m surrounded by visual clutter.

Some of these prints were found on Etsy, but I made most of them myself. I couldn’t find exactly what I wanted, and so many options were way too colorful for what I wanted to do in this room.

I decided that I’m not totally inept and could probably make my own simple wall art.

How to Make Simple Printables

Option 1: Google Drive (or similar program you prefer)

Option 2: Canva

I still wanted another way to bring words into our home, specifically in the master bedroom. I wanted something that was different from what I did in the office.

Our wedding song was “Yellow” by Coldplay, and it’s always been really special to us. Brian once figured out how to play it on his guitar and took me to a hilltop on date night and performed it for me (sweetest. ever), we played it in the car to calm down as we waited for a very scary doctor appointment to start, we’ve danced in the living room to it… it’s just one of those super special songs.

I really wanted something to fill the space above our headboard, but it needed to be pretty big… a couple of wall prints wasn’t gonna cut it. I’d heard that you could get things printed on construction-sized paper for super cheap, so I thought I’d give it a try. Most places I saw info about oversized printables mentioned going to Staples because it only cost like five bucks. However, we lived in Arkansas at the time and didn’t have a Staples anywhere near us, so I went to FedEx to see what they could do for me.

I had already bought some simple black frames in the size I wanted, so I brought them with me and asked if they could please print my files to fit the frames.

I got three 22×34 prints for less than nine dollars. I was pretty happy with that.

The only issue I ran into was that I had overestimated what would fit nicely in this space, and only needed two. I put the third one in the master bathroom 🙂

How to Make Your Own Oversized Prints

1. Follow the same instructions for the first tutorial (I made my oversized prints in Google Drive. I haven’t tried these ones in Canva yet).

2. At FedEx (or somewhere similar near you), bring a USB with your file(s) on it and ask them to print in the appropriate size. It was super simple for the FedEx guy to print my stuff according to the frames I had in hand, so I’d suggest having those with you!

Other Helpful Tips + Links

For fonts and graphics, I shop at Creative Market.

My favorite minimalist frames can be found here.

If you’d rather buy your printables, I always use Pinterest and Etsy to find mine!

For a tutorial on how to use your downloaded fonts in Canva, click here.

For a tutorial on how to use your downloaded fonts in Google Drive, click here.

Decorating your walls can be really intimidating (and expensive), but don’t let that keep you from having a home that makes you smile when you walk in. That’s really important!

Leave any questions for me in the comment section below!

Filed Under: everything else

It's okay to be overwhelmed, but don't stay there!

Trust me that the best place to start is your home.

Please enter your name.
Please enter a valid email address.
Let's Get Started
Something went wrong. Please check your entries and try again.

Learn

  • Programs
  • Podcast
  • Student Login

About

  • About
  • Press + Media
  • Contact

Connect

  • Instagram
  • Facebook Group
  • Meet Team Allie

© 2017 Allie Casazza. All Rights Reserved.   Privacy Policy | Site Credits

×
By using this website, you agree to our use of cookies. We use cookies to provide you with a great experience and to help our website run effectively.Ok